How To Guide
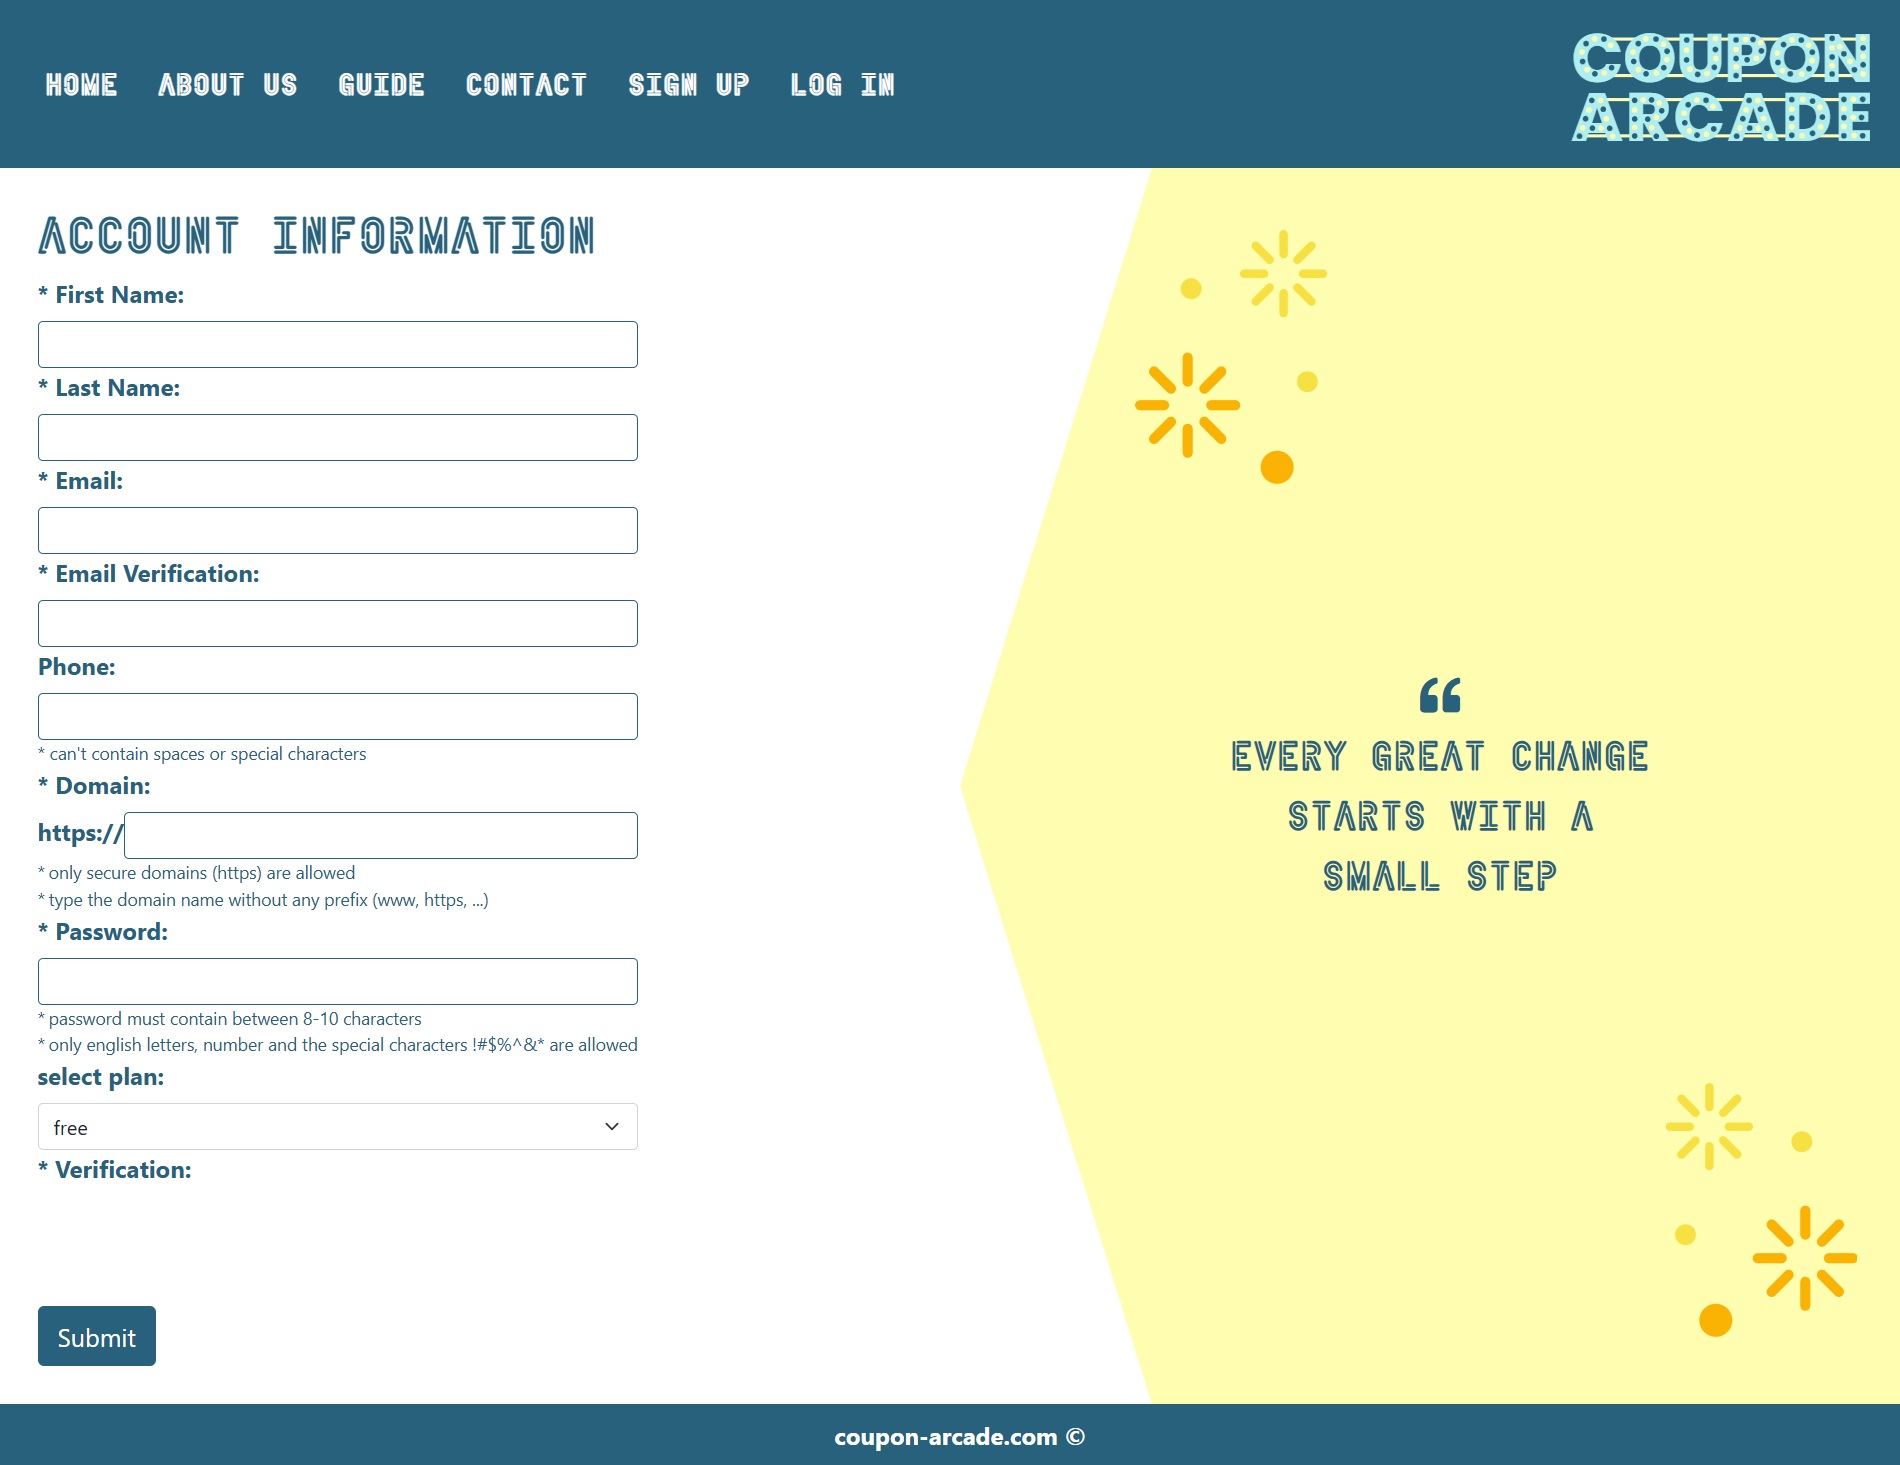
STEP 1: create an account here
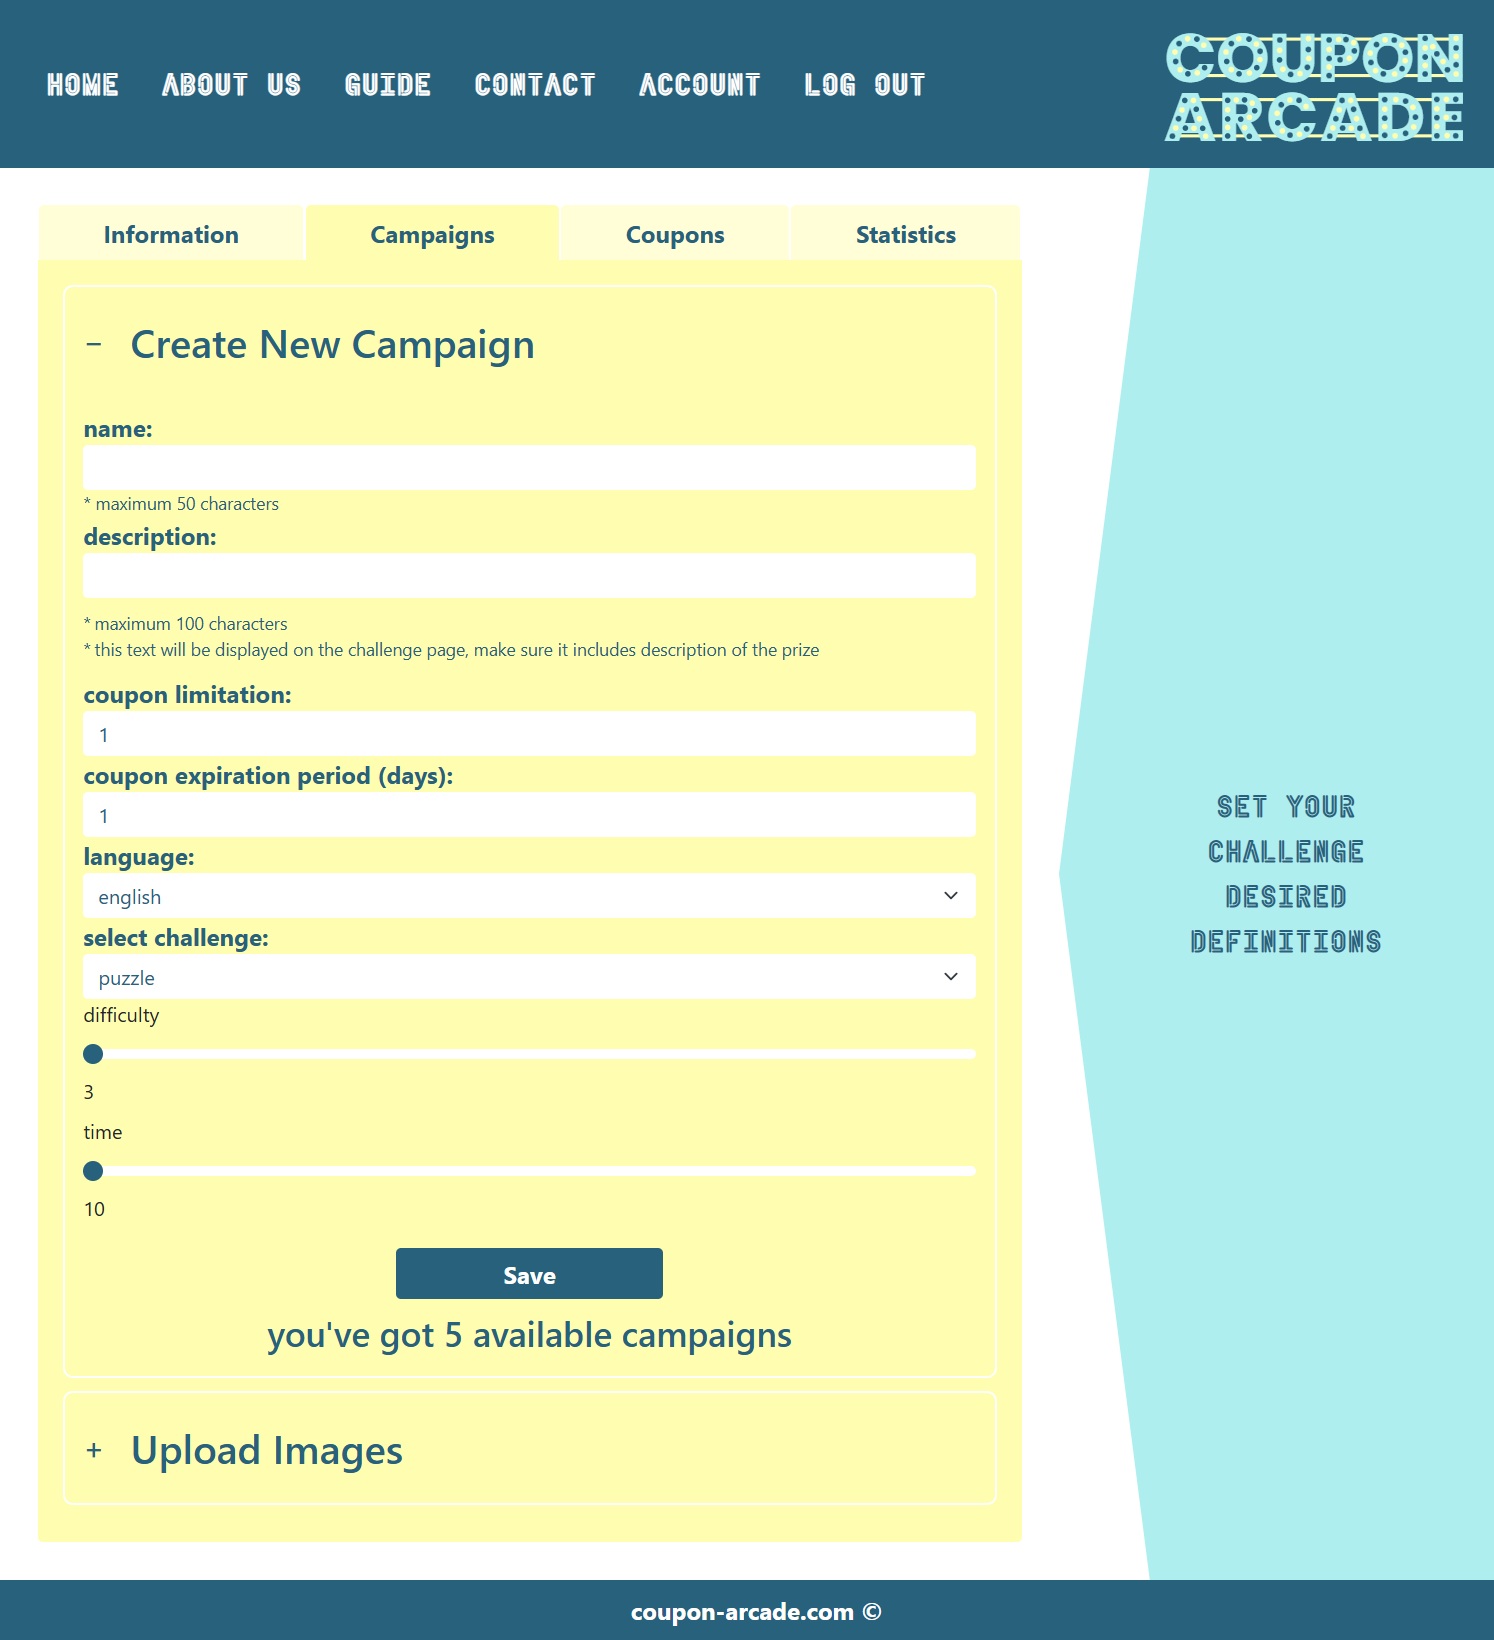
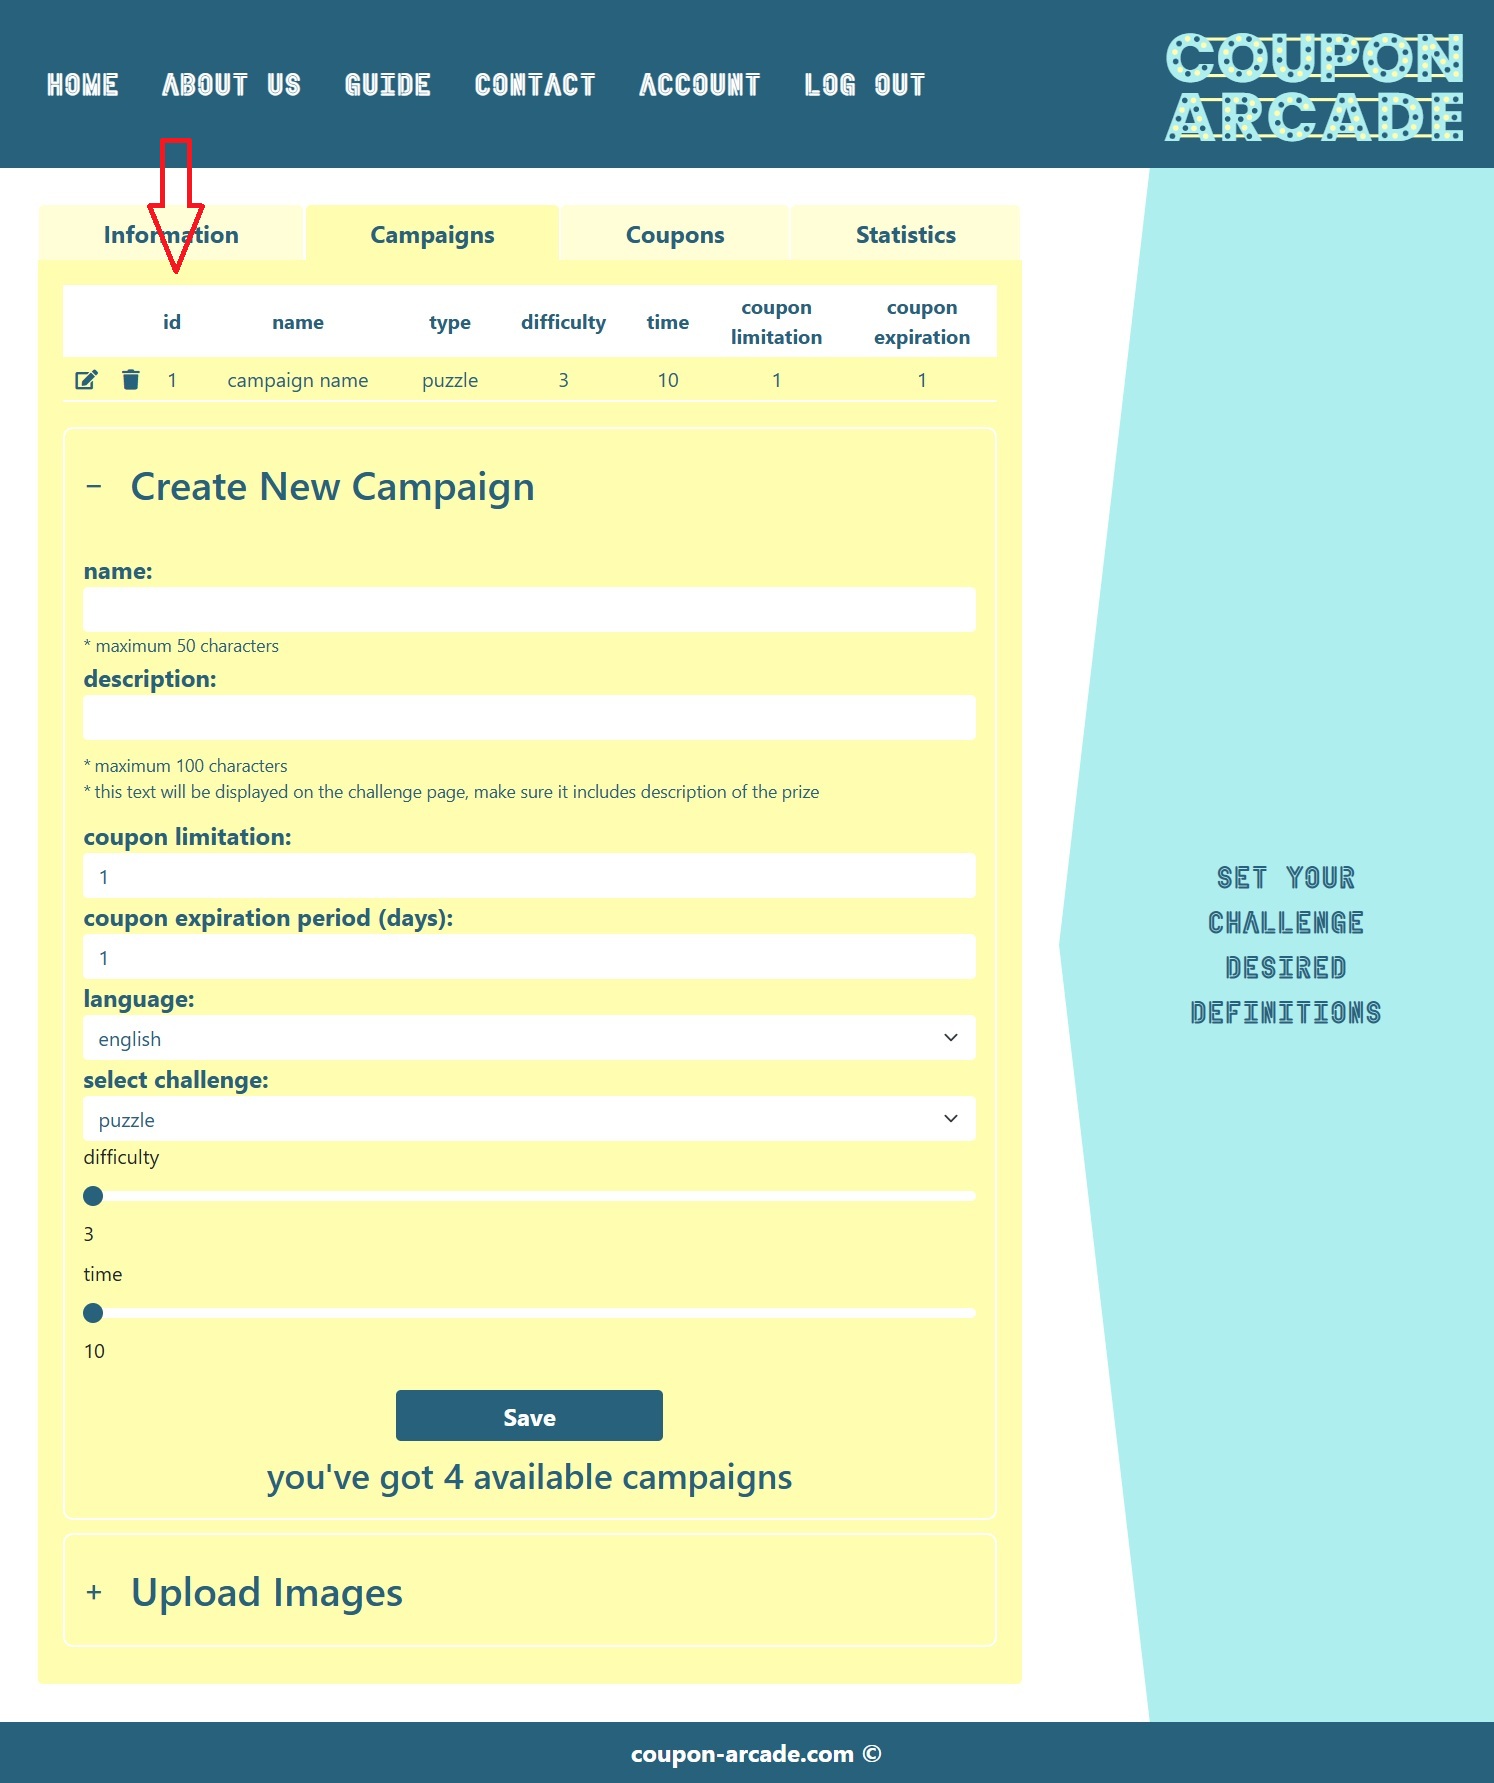
STEP 2: Create a campaign in the following tab:
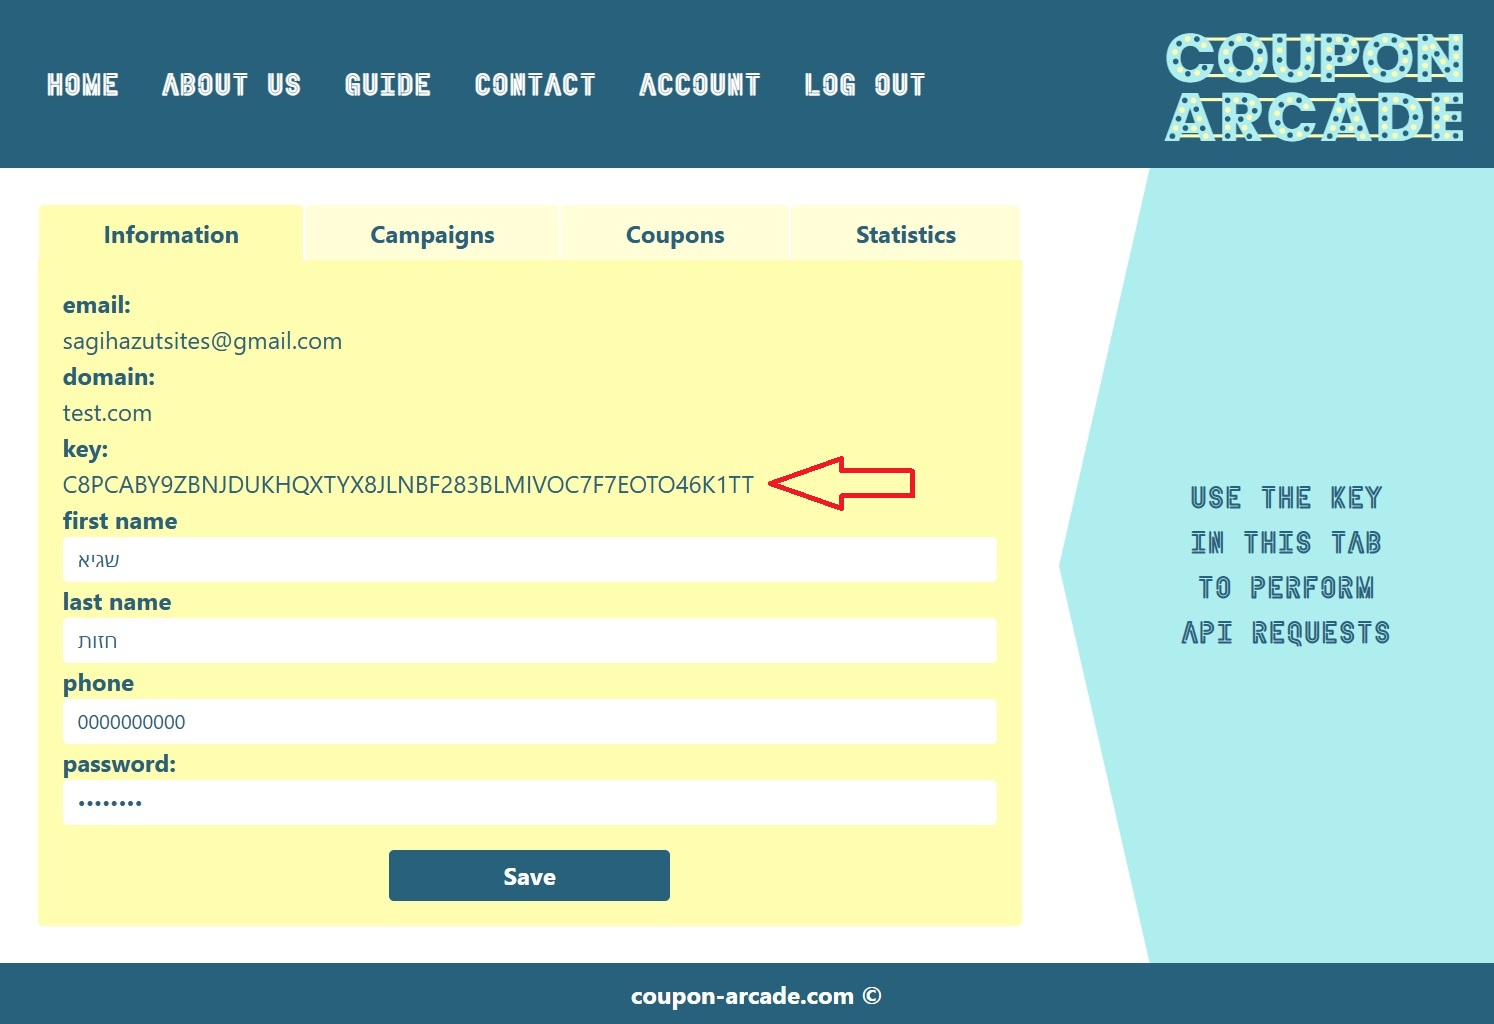
STEP 3: Save API key + campaign ID
STEP 1: Create a server endpoint that:
.NET example:
public async Task OnPostGameHandler([FromBody] string campaignId) https://api.coupon-arcade.com/ChallengeUrl/[API key]/[your domain]/[campaign id].NET example:
return Content(ApiResponse);STEP 2: Add the following reference to your HTML:
<script type="text/javascript" src="https://coupon-arcade.com/Scripts/clear/ca-cs-overlay.js"></script>STEP 3: Add game trigger element at a desirable location that:
example:
<button data-ca-campaign-id="1"></button>JS example:
document.getElementById("GameTrigger").addEventListener("click", function () {
  playCouponArcade("/MyPage?handler=MyHandler", "1");
});STEP 1: download plugin zip here
STEP 2: upload the plugin zip in WP plugins tab as seen in the image
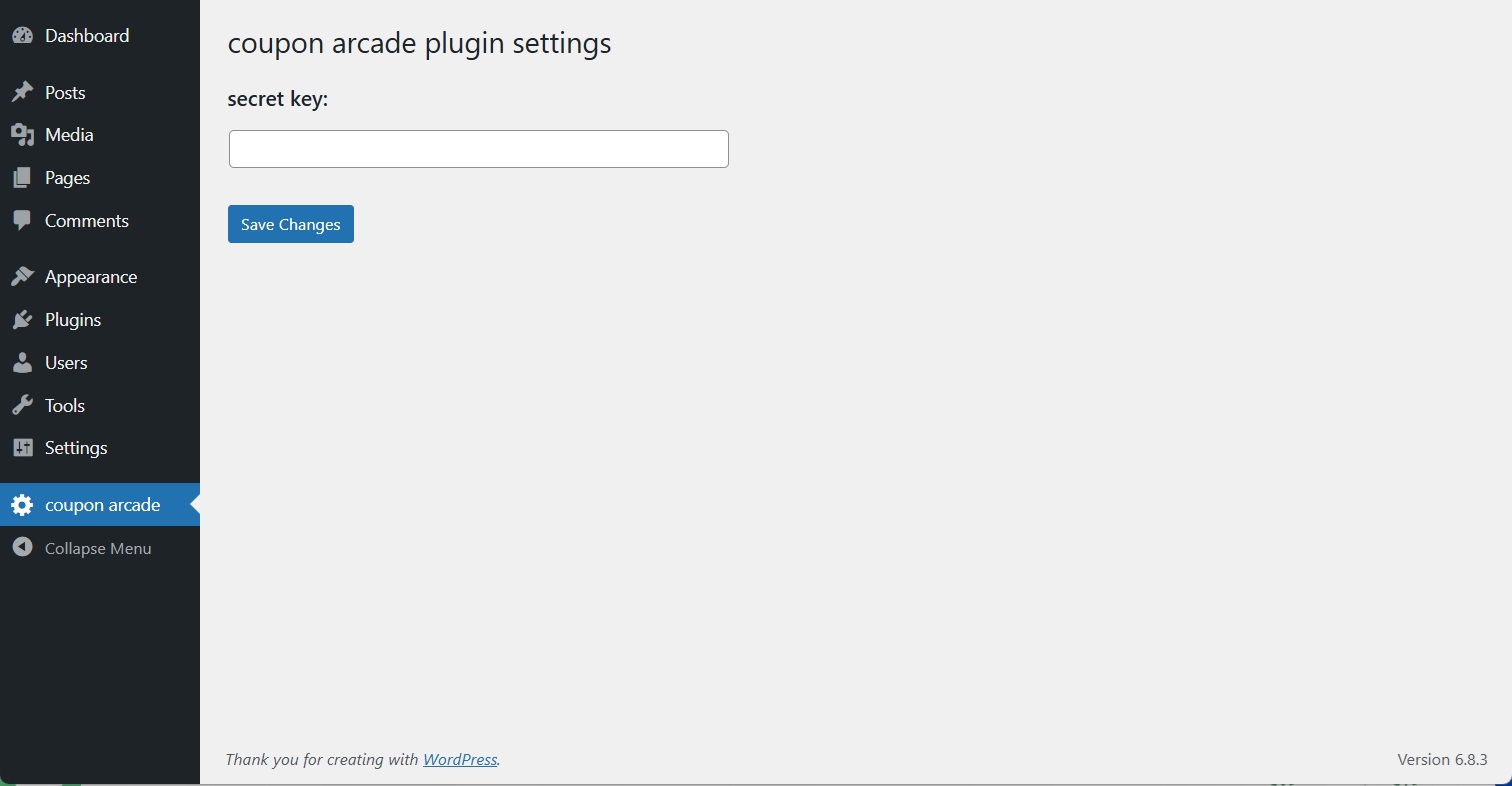
STEP 3: after installation save the API key in coupon arcade plugin’s settings page

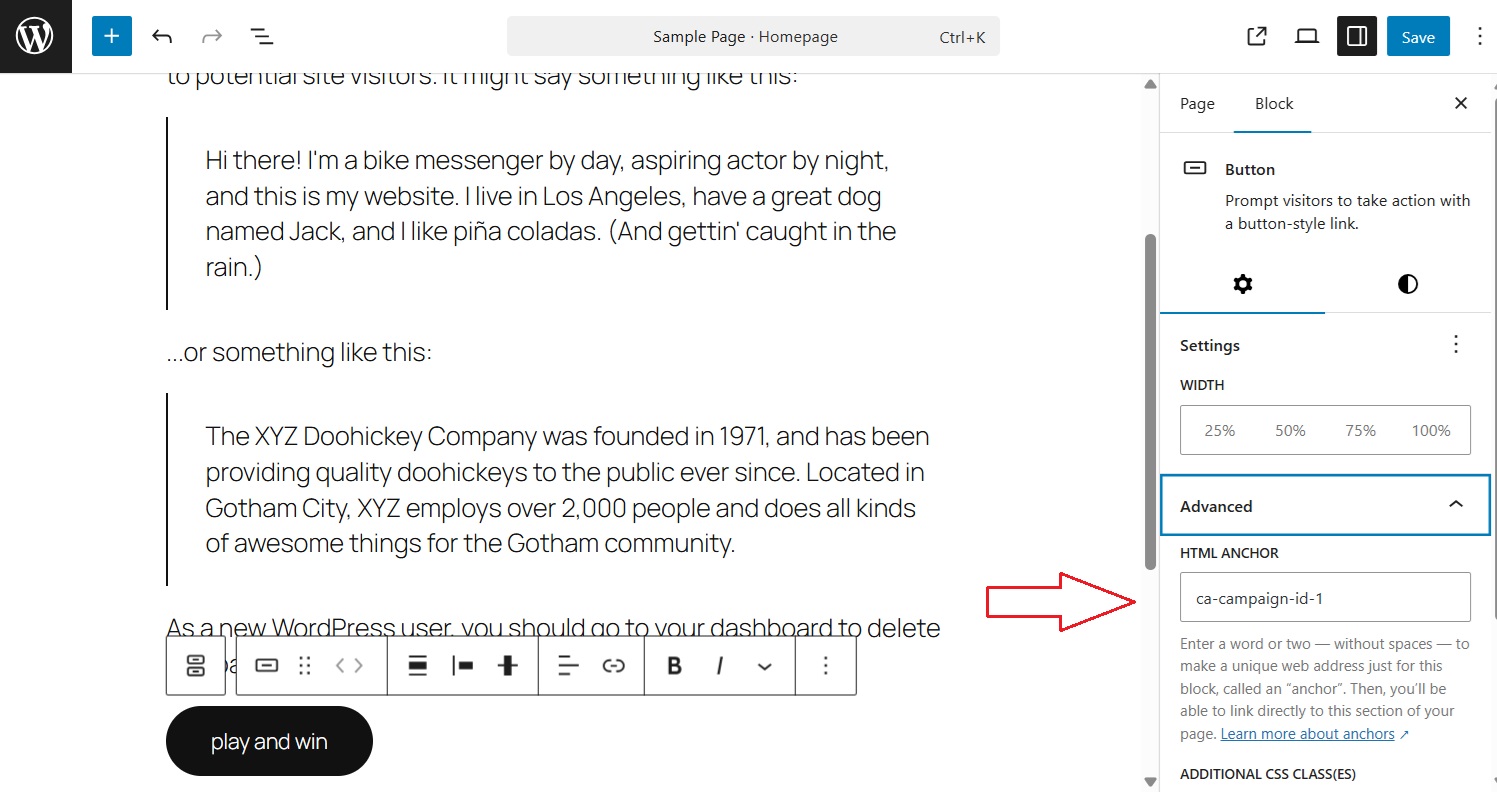
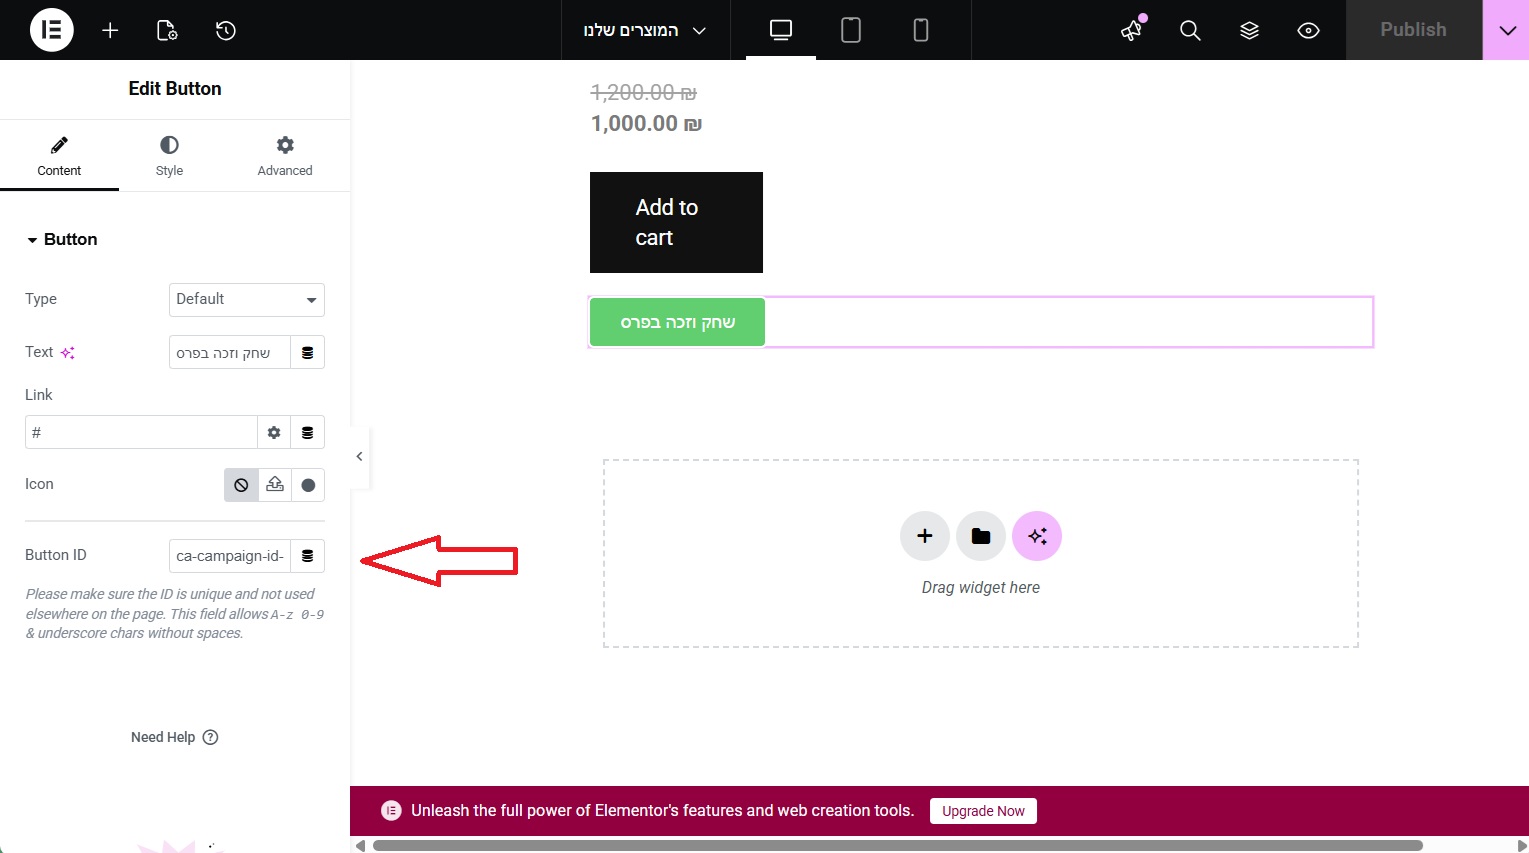
STEP 4:
create trigger element and update campaign ID as seen in the image
(with and without elementor)
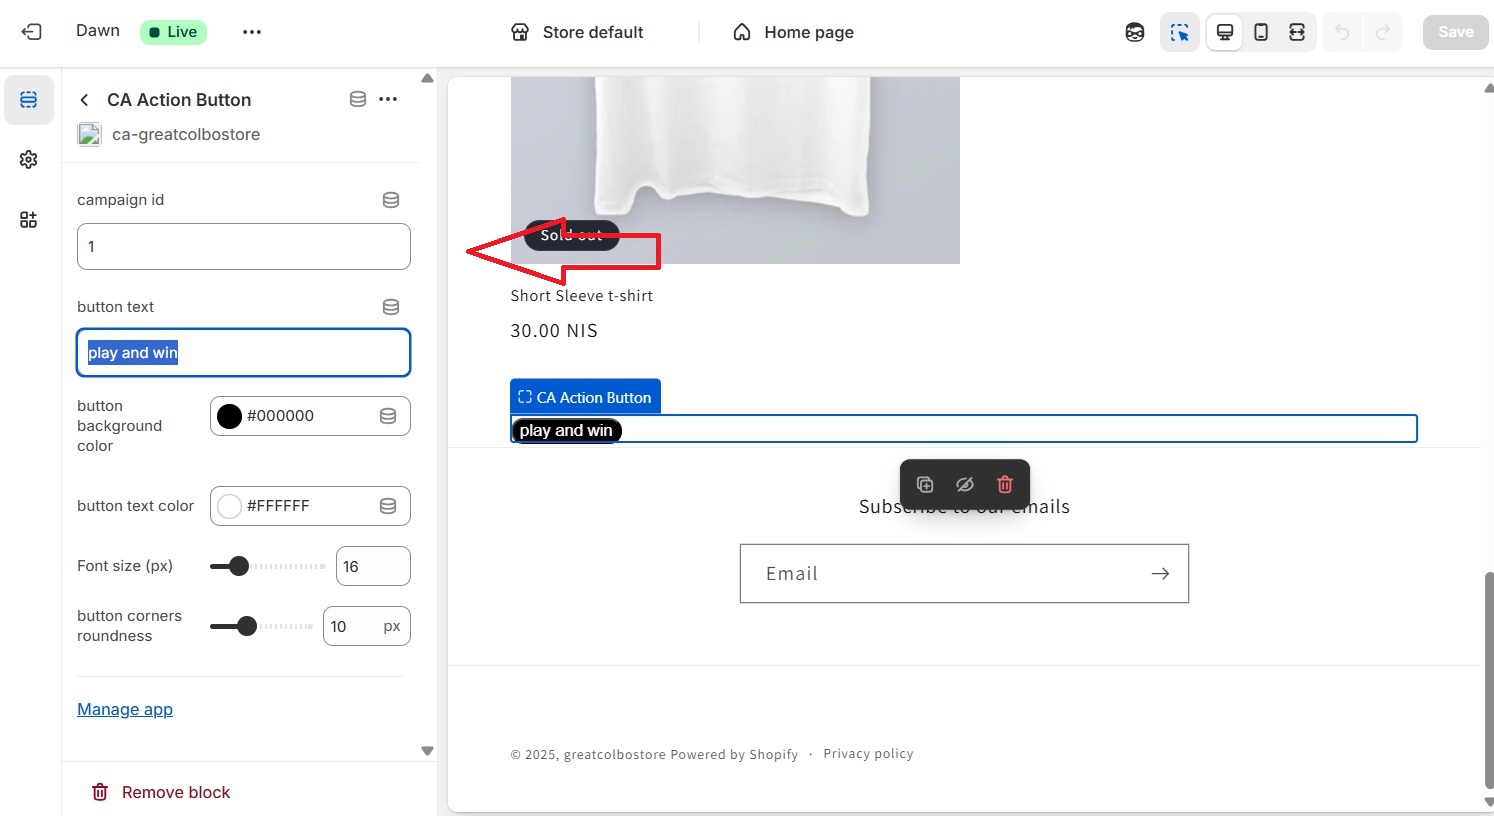
STEP 1: Contact coupon-arcade to receive app installation link
STEP 2: After app installation open the theme customization panel
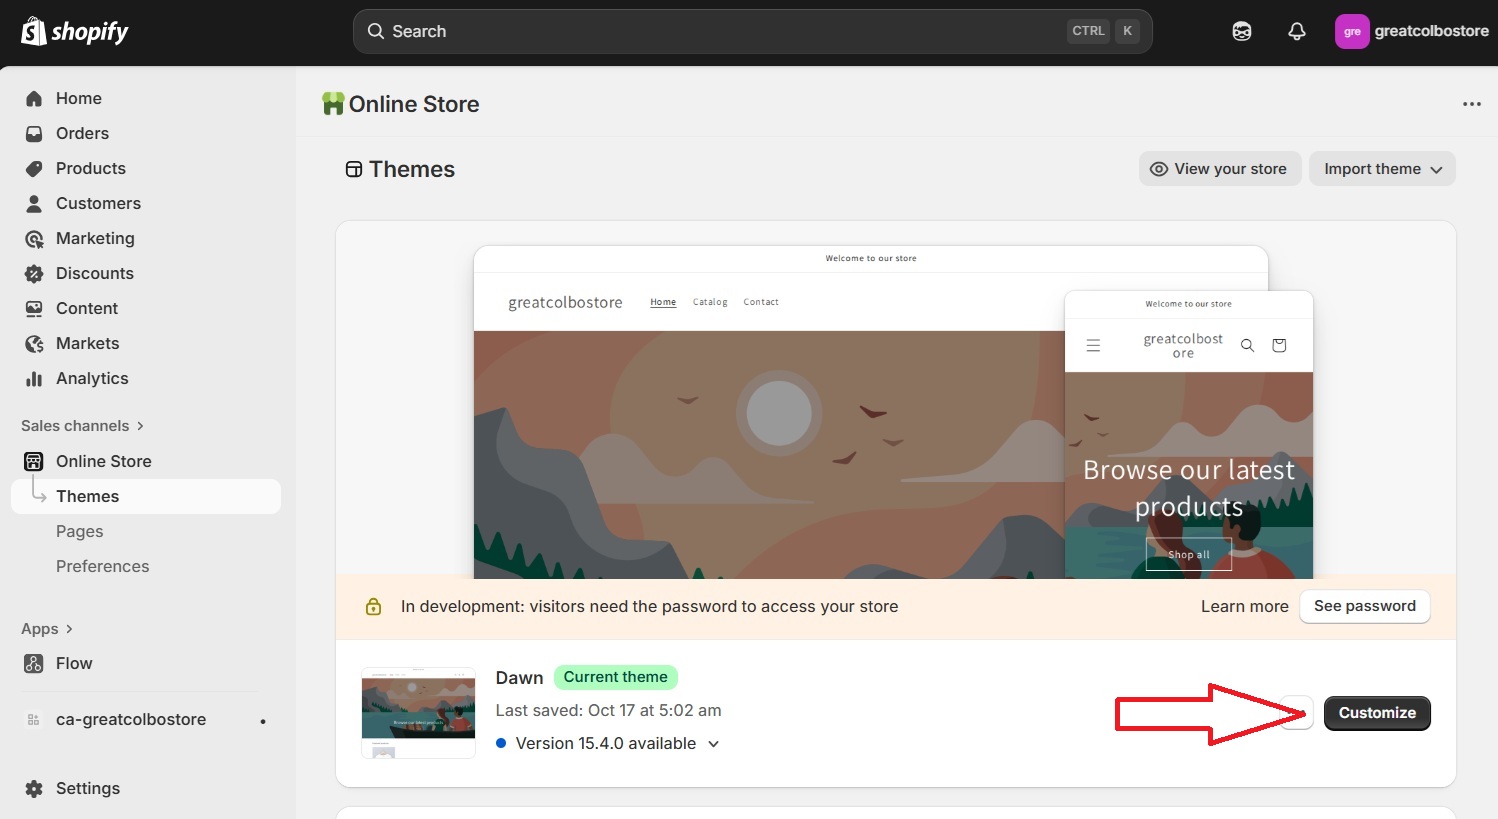
STEP 3: Add section in the desired location and choose the app extension
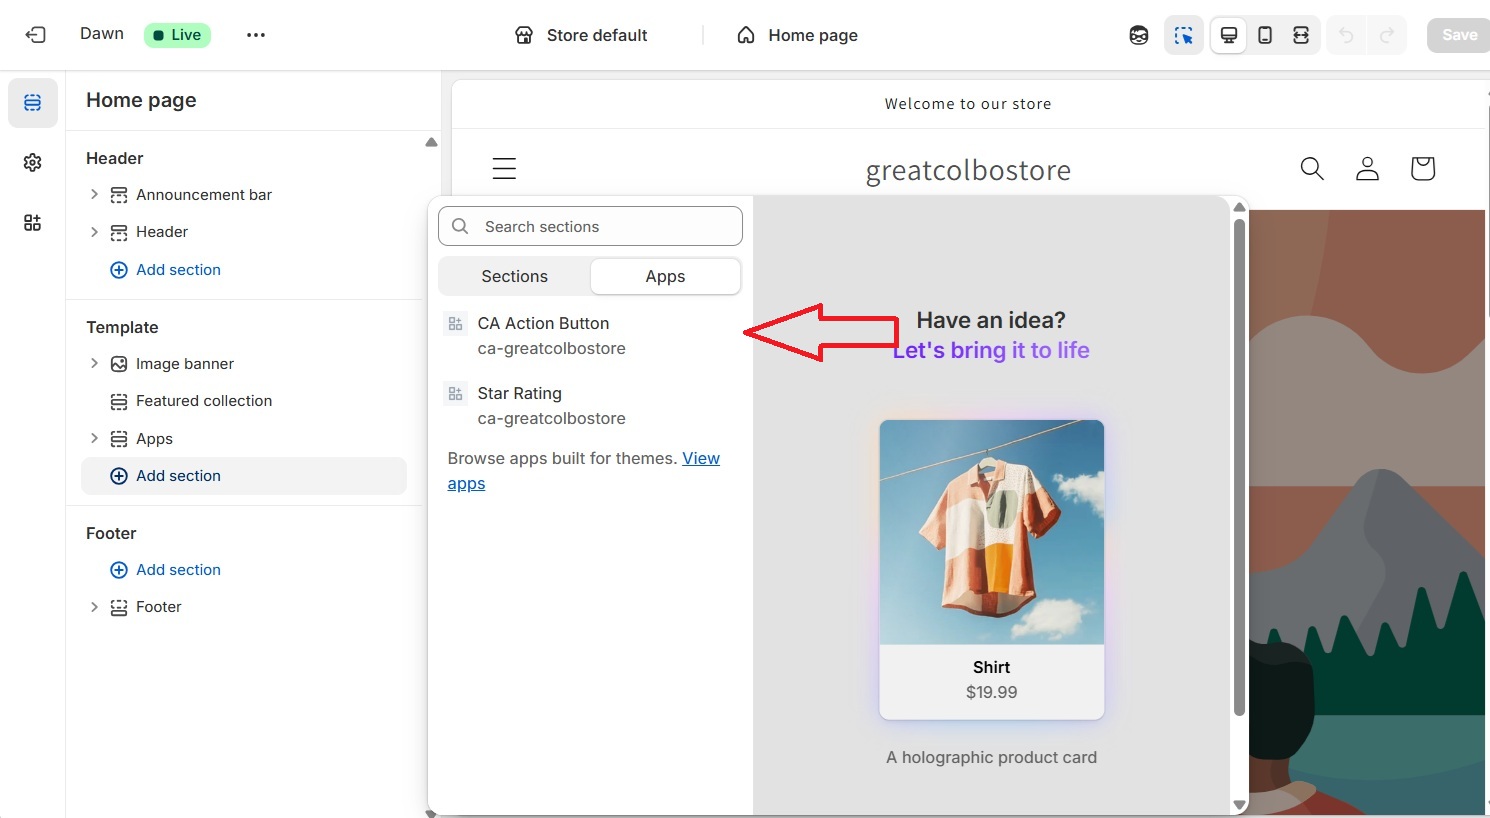
STEP 4: Select the desired extension definitions and update campaign id